Table of Contents
Introduction
I have spent over 20 years in the manufactured housing industry. During that time, I have purchased, stripped, and rebuilt more than 100 mobile homes. I have seen homes that were structurally sound after 50 years and homes that were scrap metal after five. The difference is always the roof. In the world of mobile home investing, water is the “universal solvent”—it dissolves equity, it dissolves structural integrity, and it dissolves your profit margins.
In this guide, we are going to move past the surface-level “put some caulk on it” advice. We are going to look at the engineering of the mobile home roof, the chemistry of modern sealants, and the forensic process of diagnosing a leak that everyone else has missed. If you want a roof that lasts another 30 years, you have to understand the physics of the structure you are standing on.
Video Guide Overview
Affiliate Disclosure
To keep the deep-dive research at MobileHomeFriend.com free for everyone, I use affiliate links. If you buy a tool or material through these links, I may earn a commission. I only recommend industrial-grade gear that I use on my own $100k+ renovation projects. If it can’t handle a summer in the Mojave or a winter in Maine, I don’t talk about it.
The Short Answer: Why Most Repairs Fail
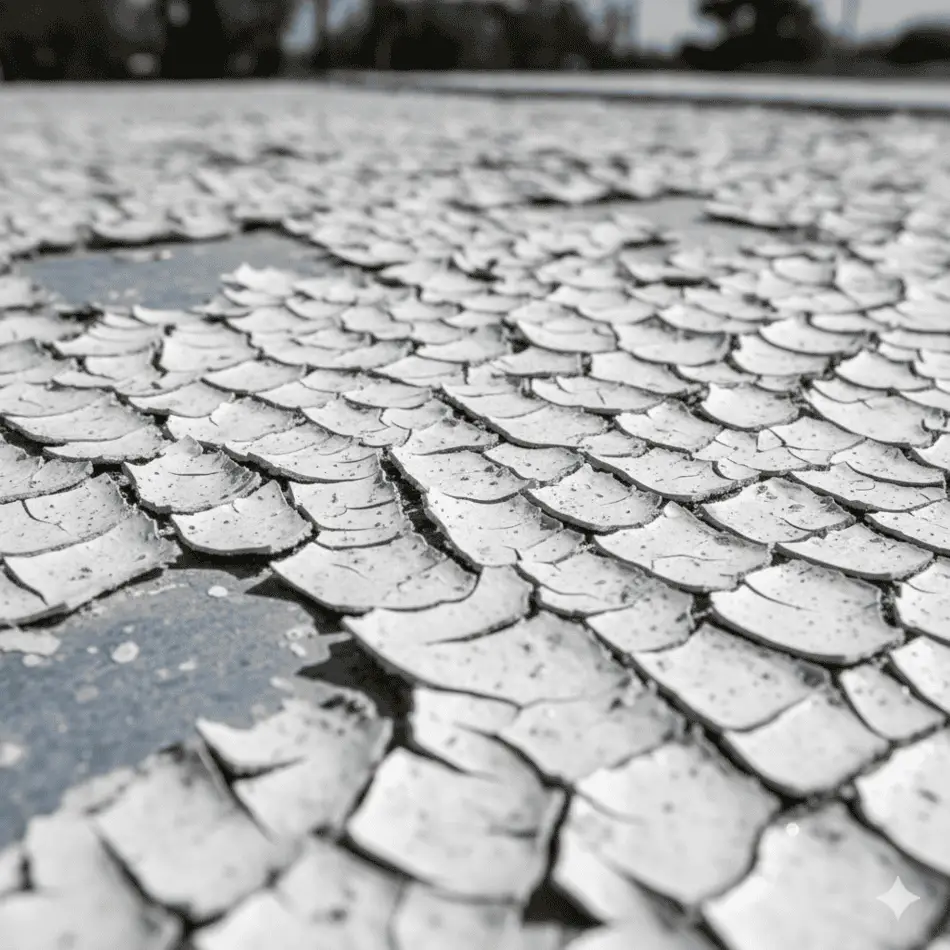
Most mobile home roof repairs fail because the person doing the work treats the mobile home like a site-built house. Mobile homes are dynamic structures; site-built homes are static. A mobile home shifts every time the wind blows, every time the ground freezes, and every time the sun hits the metal. If you use a rigid repair material (like hardware store roof cement or standard silicone), the very first time the temperature swings 30 degrees, that repair will crack. Success requires high-elongation materials that can stretch 400% without tearing.
Section 1: The Engineering of Mobile Home Roof Systems
1.1 The Physics of the Bow-String Truss
Older single-wide mobile homes use what we call a “bow-string” truss. These are lightweight wood or metal members that are under tension. The roof metal is stretched over these bows and fastened at the perimeter. This design is brilliant for weight-saving during transport but terrible for long-term water management. Because the roof is nearly flat at the “peak,” water does not rush off; it lingers. This lingering water creates a “micro-load” that can eventually cause the insulation underneath to dampen through condensation, even without a puncture. This is known as “hygroscopic loading,” and it is the silent killer of mobile home ceilings.
1.2 Thermal Bridging and Condensation
In a metal-roofed mobile home, the metal acts as a thermal bridge. In winter, the metal is freezing. Inside, the air is warm and humid. If your vapor barrier (usually a thin plastic sheet under the metal) is breached, that warm air hits the cold metal and turns into liquid water. I have seen “leaks” that were actually gallons of condensation trapped between the metal and the ceiling. If you fix a “leak” but the ceiling stays wet in winter, your problem is actually ventilation and thermal bridging, not a hole in the roof.
1.3 The Marriage Line Engineering
Double-wide homes are two separate structural boxes. When they are joined, they are supposed to move as one, but they never do. The “marriage line” is the 60-foot-long seam where these boxes meet. If your home is off-level by even 1/4 of an inch across the width, the two boxes will “scissor.” This scissoring action tears the ridge cap shingles or the center seal membrane. You can seal that center line every day, but if the home isn’t level, the physics of the “scissor” will win every time.

Section 2: Forensic Diagnosis Protocols
When I walk onto a roof, I don’t look for holes. I look for evidence of movement.
2.1 The “Sway” Test
I stand in the center of the roof and gently shift my weight. If I hear a “tin-can” popping sound (oil-canning), it means the roof skin has detached from the rafters. This is a critical diagnosis. It means the fasteners have “hogged out” their holes. You can put all the sealant you want on those holes, but as long as that metal is flapping, the sealant will eventually shear off. In this case, the fix isn’t more sealant; it is mechanical re-fastening with oversized structural screws before sealing.
2.2 Capillary Action Diagnosis
Water has a property called “surface tension.” It can pull itself into a crack as thin as a human hair and “climb” upward. This is why you often find leaks at the overlap of metal sheets. The water gets sucked into the seam and then drips onto the rafter. To find these, I use a “soap and pressure” test. I block the roof vents, use a high-powered leaf blower to slightly pressurize the interior of the home (if it’s tight enough), and spray soapy water on the roof seams. Where it bubbles, air is escaping—and that is exactly where water is entering.
2.3 Thermal Imaging and Moisture Mapping
I never guess. I use a FLIR (Forward Looking Infrared) camera. I do this at dusk. The dry parts of the roof cool down quickly, while the wet insulation under the roof holds the day’s heat. The “leak” will show up as a glowing hot spot on my screen. This allows me to map the exact extent of the water damage without stripping a single piece of metal. If the “hot spot” is 10 feet wide, I know I’m not just patching a hole; I’m replacing a section of the roof system.
Section 3: The Chemistry of Repair Materials
This is where most people get it wrong. You cannot use “Grade A” materials from a “Grade B” store. You need industrial chemistry.
3.1 EPDM vs. TPO vs. PVC
- EPDM (Rubber): High UV resistance but expands significantly. It requires “seam tape,” not glue. If you use petroleum-based roof patch on EPDM, the rubber will swell and dissolve.
- TPO (Plastic): Reflects heat and is weldable. However, it is sensitive to “ponding water” and can lose its plasticizers over time, becoming brittle.
- PVC: The king of membranes. It is resistant to chemicals, grease (if you’re near a restaurant), and fire. It is also the most expensive.
3.2 Solvent-Based vs. 100% Solids Silicone
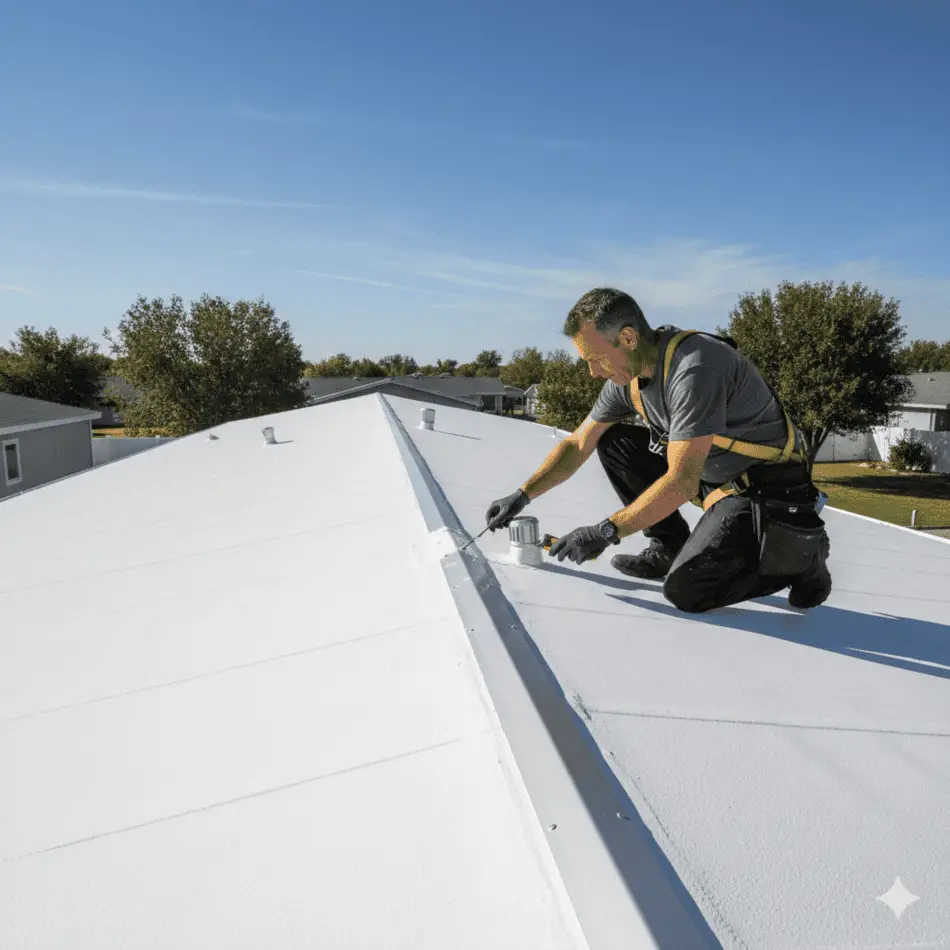
Cheap “cool roof” coatings are often 50% water or solvent. When they dry, half the product evaporates, leaving a thin, brittle film. I only use High-Solids Silicone. What you put down is what stays there. If you apply a 20-mil layer, it stays 20 mils thick. It is permanent, UV-stable, and “moisture-cured,” meaning it actually gets stronger when it rains.
3.3 Butyl vs. Putty Tape
Putty tape is a clay-based product that turns into a rock after 3 years. Butyl tape is a synthetic rubber that stays “gooey” for 30 years. For J-rails and vents, butyl is the only logical choice. It creates a “gasket” that can move as the home moves.
Section 4: Structural Restoration of Rafters and Decking
If the leak has been active for more than six months, you likely have “soft” wood. You cannot screw a new roof into rotten wood.
4.1 Sistering Rafters
When I find a rotten bow-string truss, I don’t remove it. I “sister” it. I cut a new rafter to match the curve and bolt it to the existing (dry) part of the truss. I use structural adhesive and carriage bolts. This restores the “crown” of the roof, ensuring water flows to the edges rather than pooling in the center.
4.2 Replacing the “Decking” (Sheathing)
Modern mobile homes use OSB (Oriented Strand Board) or plywood. Once wet, OSB turns into oatmeal. If the decking is soft, you must cut out the section and replace it with CDX plywood. I always treat the new wood with a borate solution to prevent future mold and rot. I then use H-clips between the sheets to allow for expansion without buckling the roof membrane.
Section 5: 2026 Cost Transparency and Economic Outlook
The cost of petroleum-based products and labor has stabilized but remains high. Here is the 2026 breakdown for professional vs. DIY projects.
| Project Scope | DIY Material Cost (Premium) | Professional Contractor |
|---|---|---|
| Full Perimeter J-Rail Re-Seal | $450 – $600 | $1,800 – $2,500 |
| Structural Rafter Sistering (Per Unit) | $100 – $200 | $800 – $1,500 |
| High-Solids Silicone Coating (Double Wide) | $1,200 – $1,800 | $4,500 – $7,500 |
| Full TPO Roof-Over (Single Wide) | $3,000 – $5,000 | $9,000 – $14,000 |
Section 6: Essential Affiliate Tools for Professional Results
If you want to do this once and never look back, you need the tools that I keep in my “Flip Kit.”
| Product | Why Chuck Uses It | Store Link |
|---|---|---|
| Pro-Grade 100% Silicone Sealant (Self-Leveling) | Used for all roof penetrations. It levels itself into the gaps and creates a 50-year seal. | Check Price |
| Impact-Rated Magnetic Nut Setter Set | Essential for driving hundreds of J-rail screws without stripping the heads or the metal. | Check Price |
| Industrial Butyl Gasket Tape (2″ Wide) | The only thing I trust for marriage lines and perimeter seals. Stays flexible in extreme weather. | Check Price |
Section 7: The “No-Fail” Execution Checklist
I follow this exact sequence for every roof I restore. If you skip a step, you are inviting failure.
- Level Check: Verify the home is level within 1/8 inch. If not, the roof will twist and crack your new seals.
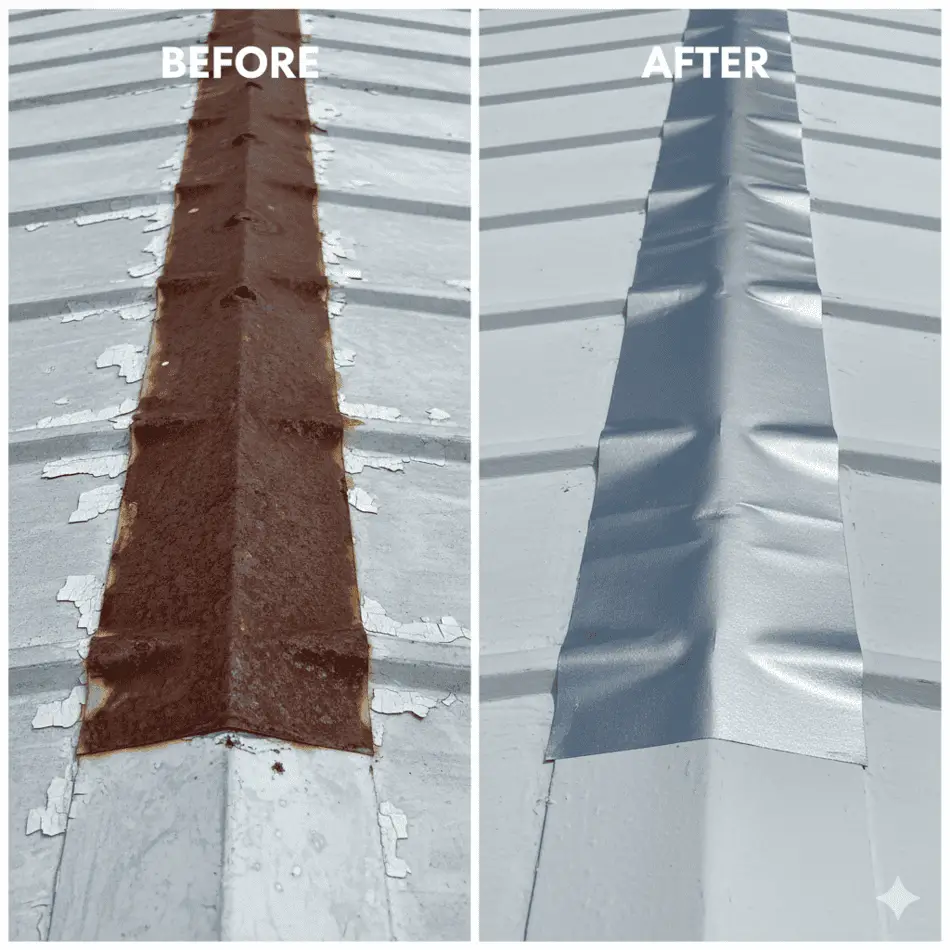
- The Scrub: Use a pressure washer at 2,500 PSI with a 15-degree tip to blast off oxidized paint and dirt.
- Etching: On metal roofs, I use a mild acid etch to ensure the silicone bonds to the aluminum or steel.
- Screw Audit: I replace every third screw with an oversized structural fastener to ensure the roof is clamped to the rafters.
- Butyl Barrier: I apply 2-inch butyl tape to every seam before applying a liquid coating.
- Flashings: I replace all PVC vent boots with rubberized steel-core boots.
- The Silicone Pour: I pour the high-solids silicone and use a 3/4-inch nap roller to create a thick, textured membrane.
- Edge-to-Edge: I ensure the coating goes over the J-rail to prevent water from “wicking” into the side walls.
- Interior Inspection: I remove damp insulation from the inside to prevent “attic rot” and mold growth.
- 6-Month Audit: I get back on the roof 6 months later to check for “bubbles” or “delamination.”
Section 8: Insurance Claims and Roof Damage
If your roof leak was caused by a sudden event (storm, branch, hail), your homeowner’s insurance should pay for it. However, insurance companies hate mobile home roofs. They will try to claim “wear and tear.”
How to Win a Claim
I document everything. I take photos of the impact site, the interior damage, and the moisture meter readings. I never use the word “leak”—I use the word “structural breach.” If a branch hit your roof, that is a breach. If you have “replacement cost” coverage, do not let them offer you a “patch.” Insist on a full roof-over to restore the home to its pre-loss condition. In many states, if more than 25% of the roof is damaged, the law requires the insurer to replace the entire roof to ensure uniformity.
Internal Resources
To deepen your knowledge on mobile home maintenance and investing, read these articles:
- The Hidden Dangers of Mobile Home Water Damage
- Mobile Home Insulation: Stopping the Heat Loss
- How to Inspect a Mobile Home Before You Buy
Summary
Fixing a mobile home roof is not about the patch; it is about the system. You have to understand how the home moves, how the materials react to heat, and how water travels through capillary action. By using high-solids silicone, butyl tape, and proper mechanical fasteners, you can stop a leak forever. Don’t let a $500 maintenance issue turn into a $20,000 structural failure. Respect the physics of the mobile home, and it will provide a safe, dry environment for a lifetime.
About Chuck O’Dell
I am Chuck O’Dell, the founder of MobileHomeFriend.com. Over the last two decades, I have built a career on the principle that manufactured homes are the best path to affordable housing and high-yield investing—but only if they are maintained with professional rigor. I have flipped 100+ properties and managed thousands of units. I don’t just write about roofs; I live on them.
This guide is informed by Chuck O’Dell’s decades of hands-on experience in the manufactured housing industry, ensuring every repair tip is both safe and cost-effective.
