Table of Contents
Introduction
I have spent over two decades in the trenches of the mobile home industry. In that time, I have flipped more than 100 properties. If there is one thing I can tell you with absolute certainty, it is this: Water is the silent killer of manufactured homes. A tiny drip in the corner of a bedroom isn’t just an annoyance. It is a ticking time bomb for your subflooring, your wall studs, and your health. Because mobile homes use lighter materials like particle board and thin paneling, they do not handle moisture like a site-built brick home. When the roof fails, the clock starts ticking on the entire structure.
I have seen 20 year old homes ruined in a single season because a $50 leak was not addressed. My goal with this guide is to give you the first-principles logic of how these roofs work, why they fail, and how you can fix them using modern 2026 standards. We are going to skip the fluff and get straight into the technical details that save you money and protect your equity.
Video Guide Overview
Affiliate Disclosure
To keep the lights on here at MobileHomeFriend.com, we participate in various affiliate programs. If you click on a link to a product and make a purchase, we may receive a small commission at no extra cost to you. I only recommend tools and materials that I personally use on my job sites or in my own rental portfolio.
The “Short” Answer
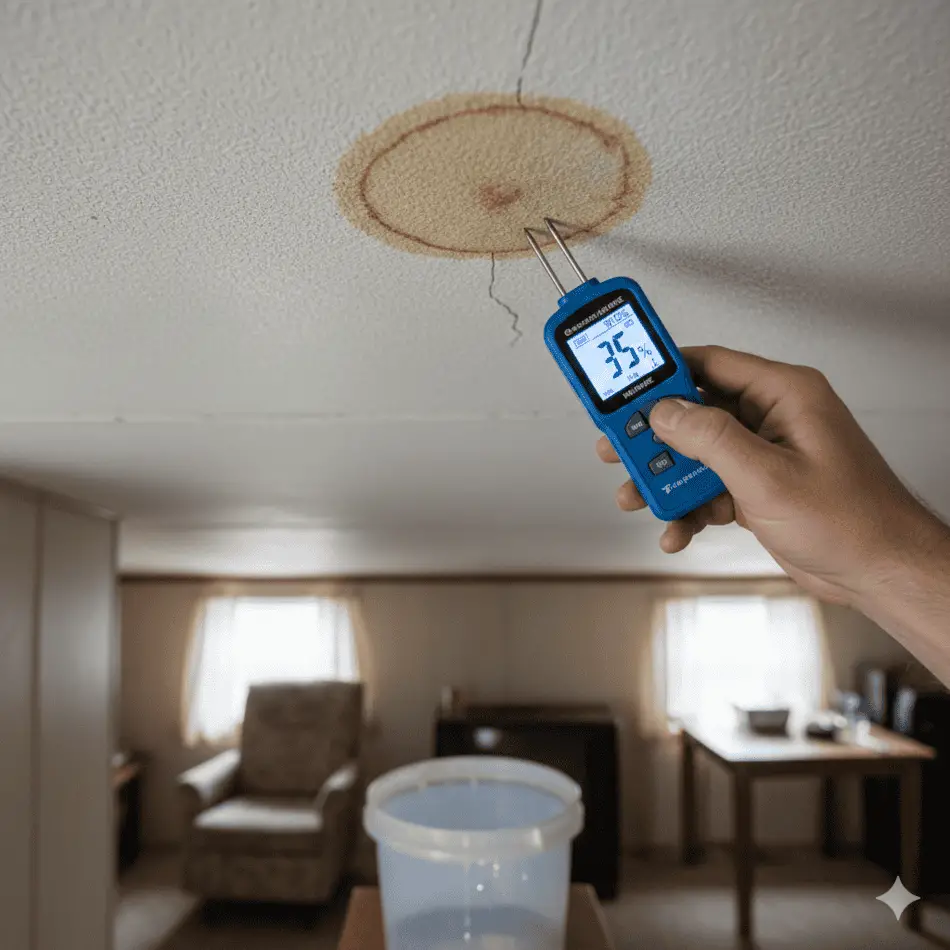
Mobile home roof leaks are typically caused by failed seals around roof penetrations or degraded seams on metal and rubber roofs. In 2026, a minor DIY patch for a vent boot costs roughly $50 to $150. A professional roof coating for a single-wide costs between $1,500 and $3,500. If you have structural sagging or extensive wood rot, you are looking at a full “roof-over” or replacement, which can range from $6,000 to $12,000 depending on materials and home size. The key is early detection. If you see a ceiling stain, the leak has likely already been there for weeks or months. You must act immediately to prevent the rot from reaching the floor joists.
Identifying the Core Issues
Common Culprits of Leakage
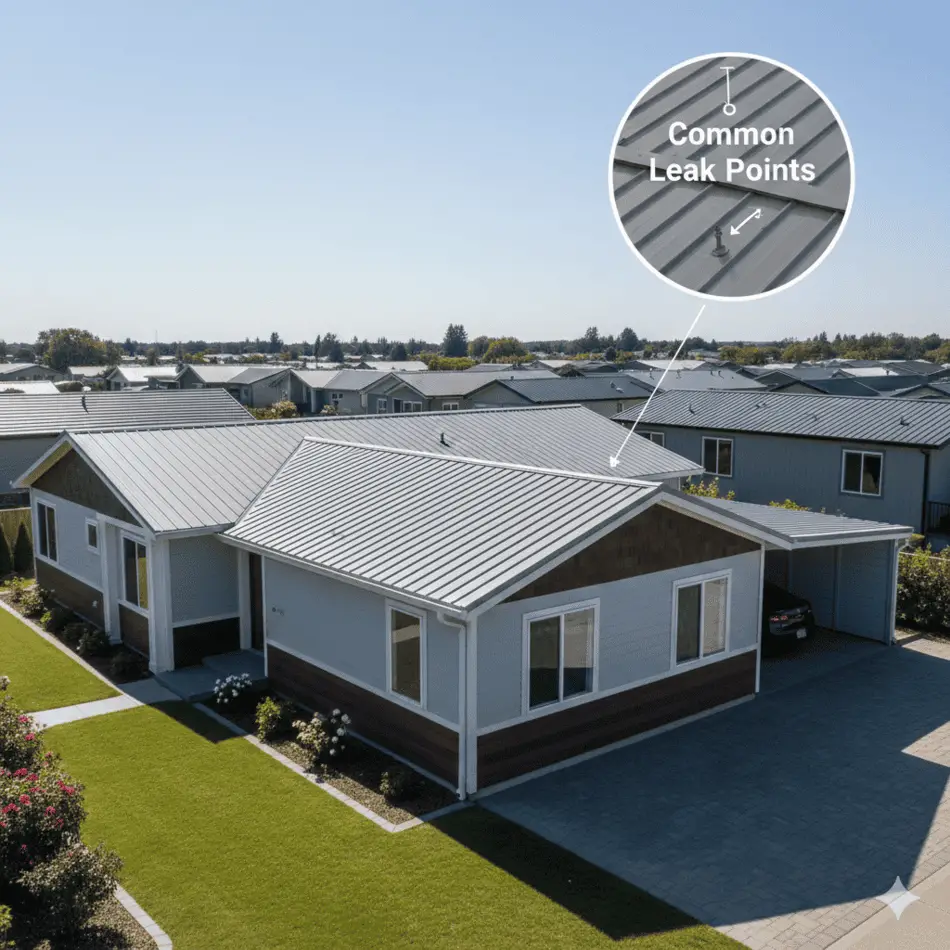
In my 20 years of experience, 90% of leaks come from the same few spots. Mobile homes are transported over highways at high speeds. This vibration loosens fasteners and cracks old sealant. Even if your home has been stationary for years, the seasonal expansion and contraction of the metal or rubber membrane will eventually pull at the seams. Metal roofs can expand significantly in the summer heat, putting immense stress on the screws holding the panels down.
- Plumbing Vent Boots: These rubber gaskets dry out and crack under constant UV exposure. They are the single most common point of failure I see.
- J-Rails and Perimeter Edges: The metal rails that hold the roof to the side walls are notorious for leaking if the putty tape underneath dries out. When this happens, water runs down inside the walls, which is often invisible until the floor rots out.
- The Center Seam: On double-wide homes, the point where the two halves join is a massive potential failure point if not capped and sealed correctly. If the home settles unevenly, this seam will pull apart.
- Scuppers and Gutters: If your gutters are clogged, water backs up under the roof edge, rotting the fascia and eventually entering the wall cavity.
Diagnosing the Source
Water rarely travels in a straight line. If you have a puddle in your kitchen, the leak might actually be ten feet away near a vent stack. Gravity is predictable, but roof trusses are not always level. I always start my diagnosis by climbing onto the roof (carefully) and looking for “alligatoring” in the sealant or loose screws. If the roof feels “spongy” under your feet, you already have decking damage. You can also use a thermal imaging camera on a cold morning to see where moisture is trapped behind the ceiling panels. This is a trick I use on every flip to find hidden mold before it becomes a legal liability.
The Technical Repair Process
Repairing a mobile home roof is fundamentally different from a standard shingle roof. Most mobile homes have either a flat metal roof, a “bowed” metal roof, or an EPDM/TPO rubber membrane. I do not recommend putting shingles on a flat mobile home roof; the weight is too high and the pitch is too low for proper drainage. You will end up with standing water and a collapsed ceiling within five years.
Sealing Metal Roofs
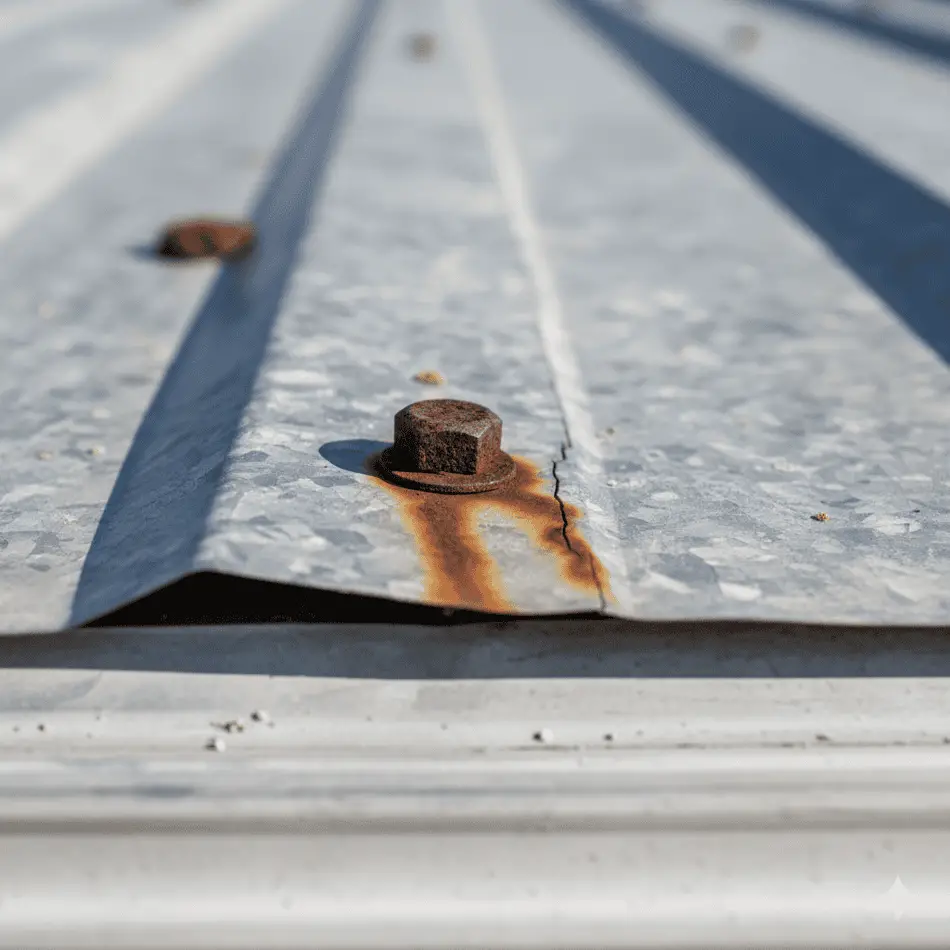
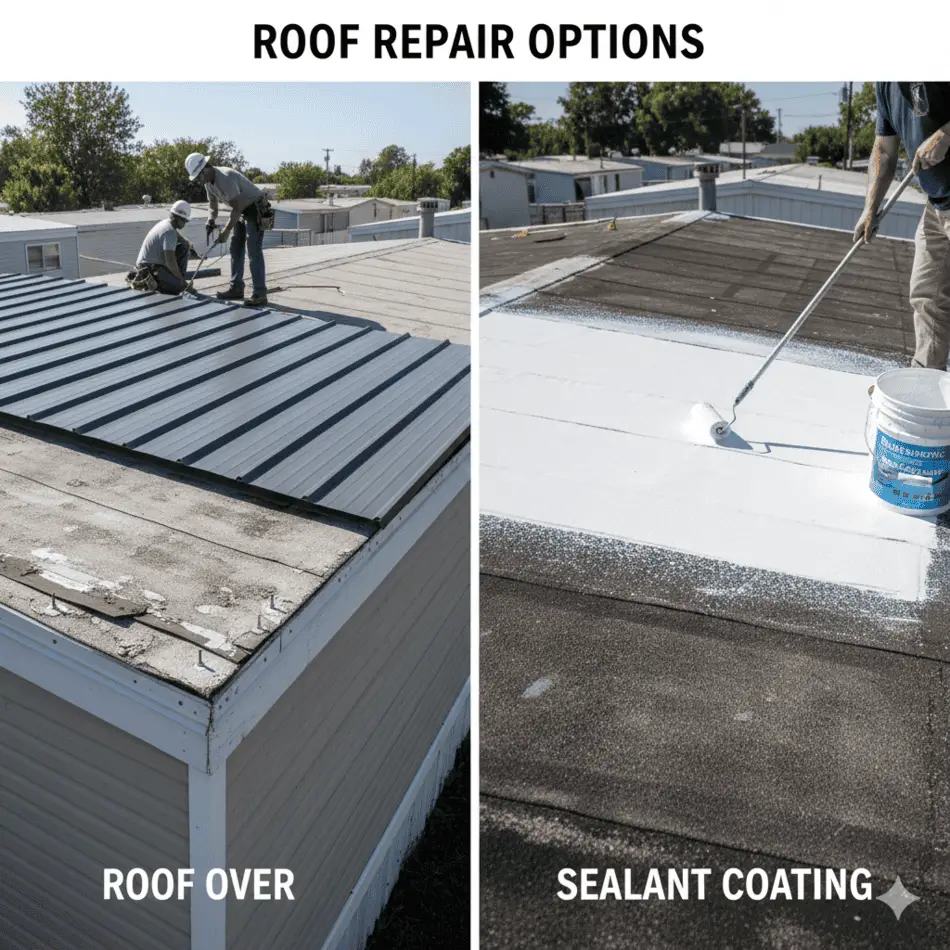
If you have an older metal roof, your best friend is a high-solids silicone coating. Unlike the old-school “silver coat” or asphalt-based paints, modern silicone does not crack when the metal expands in the sun. You must first pressure wash the roof, remove any loose rust with a wire brush, and seal every screw head with a dab of “mastic” or thick sealant. Only then do you roll on the coating. I have seen guys try to paint over dirt and rust. It does not work. The coating will peel off in sheets within twelve months if you skip the prep work.
Patching Rubber (EPDM/TPO) Roofs
For rubber roofs, do not use petroleum-based sealants. They will eat through the membrane like acid. You need specific EPDM patch kits. I prefer pressure-sensitive tape for quick emergency repairs, but for a permanent fix, you must clean the area with a specialized primer before applying a new membrane patch with adhesive. This creates a chemical weld that is stronger than the original material. If you have a massive tear, you are better off doing a full “roof-over” with a 60-mil TPO membrane which is the current industry standard for 2026 durability.
Cost Transparency Table (2026 Estimates)
These figures reflect current market rates for materials and labor. Material costs have stabilized but labor remains a premium. Keep in mind that “emergency” calls on a rainy Saturday will always carry a 20% to 30% surcharge.
| Repair Type | DIY Cost | Professional Cost | Durability |
|---|---|---|---|
| Vent Boot Replacement | $55 – $90 | $275 – $500 | 5-8 Years |
| Full Silicone Coating (Single) | $700 – $1,100 | $1,800 – $3,500 | 10-15 Years |
| Center Seam Reseal (Double-Wide) | $200 – $400 | $900 – $1,600 | 7-10 Years |
| TPO Roof-Over (Standard) | $3,000 – $5,000 | $7,000 – $12,000 | 25-40 Years |
Expert Recommended Affiliate Products
I have used these specific products on dozens of my own properties. They are the “gold standard” for mobile home roof maintenance in 2026. These are not cheap knock-offs; these are professional grade tools.
| Product Name | Purpose | Why I Use It |
|---|---|---|
| Liquid Rubber RV & Mobile Roof Coating | Full Surface Sealing | Superior elongation properties. It stretches up to 800% without tearing. |
| Eternabond RoofSeal Tape (4-Inch) | Seam & Crack Repair | This is the only tape I trust for center seams. It creates a permanent micro-seal. |
| Dicor Self-Leveling Lap Sealant | Horizontal Penetrations | It flows into every crack around a vent or pipe boot for a water-tight finish. |
Actionable Maintenance Checklist
I follow this checklist every spring and fall on my rentals. It takes about an hour and can save you thousands. Consistency is the difference between a 40-year home and a 15-year home.
- Visual Inspection: Walk the perimeter. Look for any metal panels that are lifting or “waving” in the wind. Check for loose J-channel screws.
- Debris Removal: Sweep off wet leaves and pine needles. These trap moisture against the roof and cause rapid corrosion. This is especially vital in humid climates.
- Sealant Check: Touch the sealant around your vents. If it is hard, brittle, or flakes off when you scratch it with a fingernail, it is dead. Replace it before the next rain.
- Ceiling Inspection: Go inside with a bright flashlight. Check the corners of closets and the area around the marriage line. Look for bubbling paint or soft spots.
- Fastener Tightness: On metal roofs, ensure the hex-head screws are tight. If a screw is spinning freely, the wood underneath is rotted; move 2 inches over and sink a new “oversized” screw into solid wood.
Internal Resources
If you are looking for more specific guides on mobile home maintenance, check out these deep dives on our site:
- How to Repair Mobile Home Subflooring After a Leak
- The Ultimate Guide to Mobile Home Skirting and Ventilation
- Step-by-Step: Installing a TPO Roof-Over on Your Own
Summary
A mobile home roof leak is a manageable problem if you catch it early. I have seen too many owners ignore a small stain only to find out they need $12,000 in structural repairs a year later. Be proactive. Use high-quality silicone products rather than cheap tar-based patches. If the roof is more than 20 years old and has multiple leaks, stop patching and start planning for a roof-over. It is the only way to truly protect your investment and ensure your home stays dry for the next three decades. Your roof is the shield for your entire life inside that home. Treat it with respect.
Bio: Chuck O’Dell
I am the founder of MobileHomeFriend.com and a veteran real estate investor with over 20 years of hands-on experience in the manufactured housing industry. I have bought, renovated, and sold over 100 mobile homes and managed a massive rental portfolio. My goal is to provide no-nonsense, first-principles advice to help owners and investors navigate the unique challenges of mobile home ownership without breaking the bank.
Drawing on decades of hands-on experience in the manufactured housing industry, Chuck O’Dell provides field-tested strategies for identifying and permanentlly fixing roof failures.
