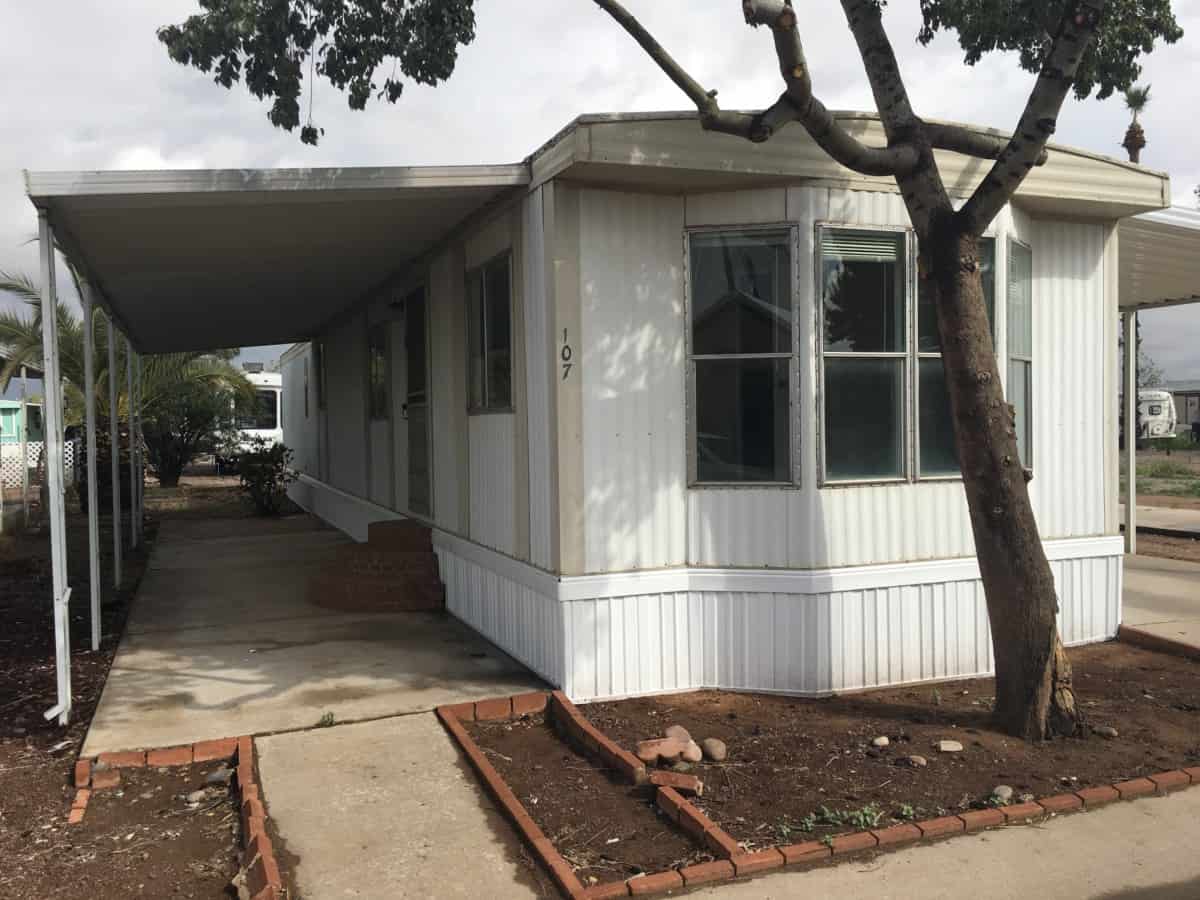
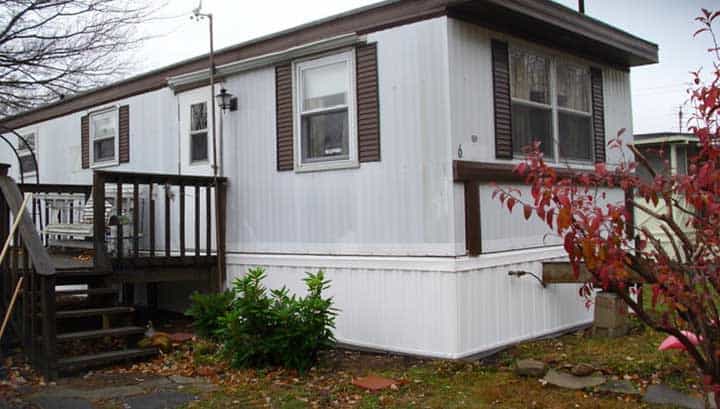
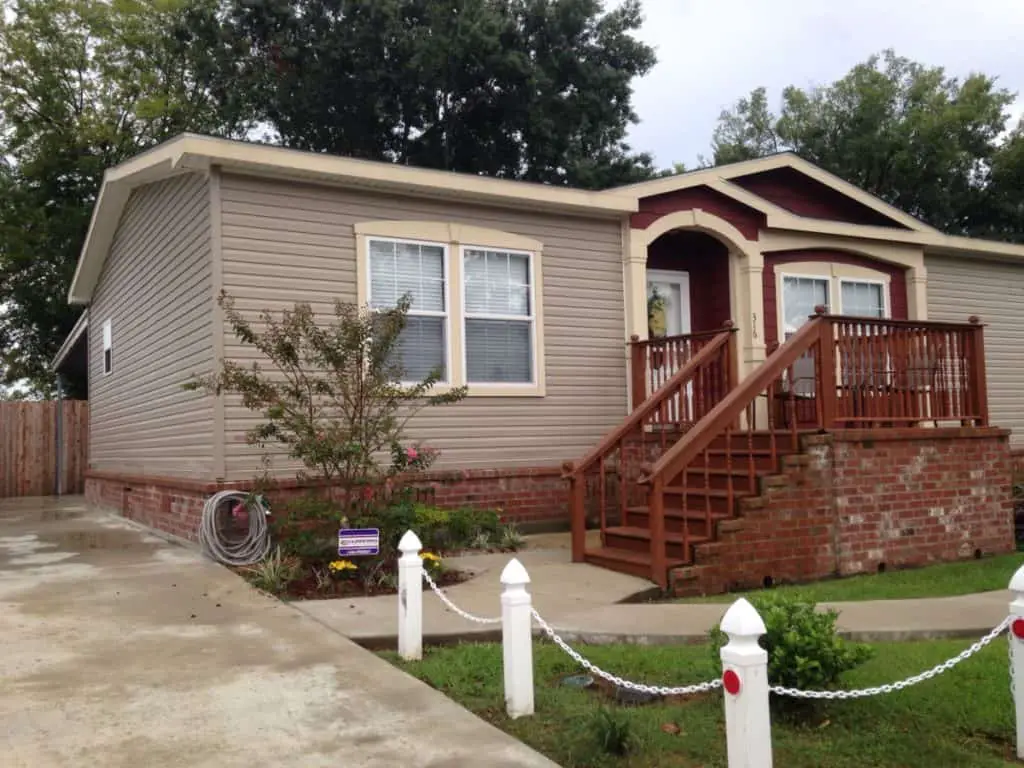
Installing vinyl skirting is one of the ways in which you can make your manufactured house look more like a real home. Most mobile homes are installed on raised foundations and leave a big gap beneath them, but with skirting you can easily hide that gap and make it seem as if the house is attached to the ground like any other building. Many mobile homes have vinyl sheets covering this gap to prevent drafts. (Keep in mind that there are many other materials you can use).
This guide for mobile home skirting will cover the different materials, costs, ventilation needs, installation details, and more. Skirting can completely change the look of a mobile home.
Skirting is more than just decorative. It acts as a strong barrier and protects your house from the weather and curious critters. In the winter, skirting keeps heat inside which helps protect your pipes from freezing. In the summer, you can use vents to regulate airflow, preventing molds and mildews from setting up shop. Plus it creates a lot of storage space. Skirting may seem like just a cosmetic improvement, but it’s there for a reason. It keeps the weather out of your home and helps with legal requirements.
Table of Contents
The Short Answer
- Choose Your Skirting Material
- There are several materials to choose from, all have a different cost as well as difficulty in installation. For this article we have chosen vinyl as it is the most common type of skirting used.
- Calculate How Much Material Is Needed
- As with most things, building materials are not inexpensive. Calculate how much material you actually need so that wastage is minimized.
- Sometimes, materials can be in short supply, so if you have an installation date in mind, find out how long it will take to get your materials and order them accordingly.
- Venting
- Any type of mobile home skirting material will require venting in order to control airflow under your home.
- Vapor barrier should be installed over the ground.
- Installation Steps
- Level out your ground
- Plan and mark your layout
- Install the bottom rail
- Position the top rail into place
- Measure and mark for the vinyl skirting panels
- Install the side panels
- Put on the corner pieces
- Install the top rail cover molding
Choose Your Skirting Material
Vinyl
Mobile home owners enjoy vinyl skirting because it is easy to install, affordable and attractive. Vinyl siding has proven to have a more positive impact on the environment than brick, stucco, and wood as per Building for Environmental and Economic Sustainability software.
There are advantages and disadvantages to using vinyl skirting. Quality of vinyl siding matters and is an important factor when looking for your next manufactured home. Some cheaper options, while priced competitively to the other available models, still have poor quality vinyl skirting, being thin and weak.
Vinyl skirting doesn’t do well with weed-eaters and budget brands don’t age well. Still, vinyl skirting is the most popular as it is the least expensive, and fairly easy to install. That is why we are concentrating on it for this post.
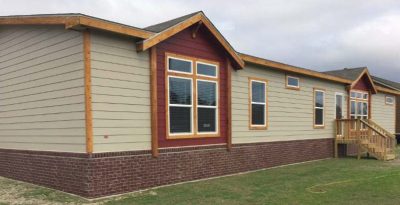
Brick
For the longest-term solution, one that’s both sturdy and durable, concrete, bricks or cinder blocks would be your best option. Bricks and cinder blocks are not easy to work with, but they provide a level of permanence that other materials cannot.
Concrete panel installation is fairly easy and can be quite cost-effective. That said, it does require some careful thought to make sure that everything goes smoothly the first time. They come in durable and long-lasting variations such as cinder block and brick. Some places specialize in installing concrete panels for you, but it’s even possible to purchase them pre-made!
These skirting materials will make your home look incredible and last a long time. It also adds some extra value when you go to sell your home.
Metal
Metal skirting can also be used under a mobile home. There are a variety of metals to use but tin is usually the most affordable. If you go with metal skirting you may want to consider installing insulation along with it. Metal has a lot of great qualities but it lacks in insulating benefits. If you are interested in additional heat retention through improved insulation, we have other options that would suit your needs better.
Installing metal panels is easy. All you need for purposes of installation is a 2 x 4 frame (make sure the wood will not be touching the ground) and attach the panel to your home at the top so that it hangs off on one side. You’ll find a variety of choices with metal, some are more modern looking than others, and all are made with great quality.
Metal mobile home skirts can provide protection and aesthetic value to your property. They are also paintable and can be used as a sculptural design element, as well as withstand the beating a weed eater dishes out.
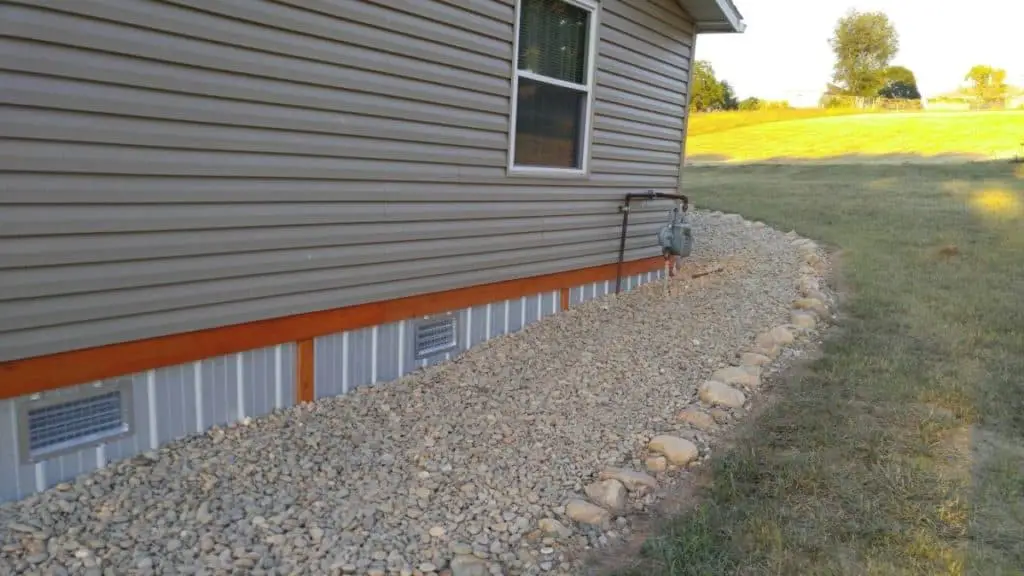
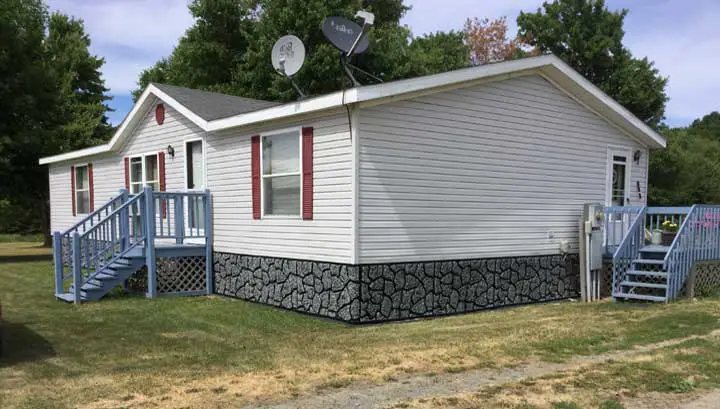
Rock
Reil Rock – The second most popular skirt option is Mason’s Rock. Made of a sturdy plastic, it has the look and feel of stone, and comes in 3 colors. Reil Rock is sold in 5-foot sections with 3 height options: 2’6″, 3′ and 4′. It’s installation is fairly easy and similar to installing vinyl skirting with U-channels (or J-channels).
You can put a wooden or plastic panel on top of the hole to cover it up but this is not required for smaller sized panels. If your panel needs to be made a little larger, you can use this track as an additional “board” and just place it over the top.
While Reil Rock is more expensive than vinyl it is more durable and can withstand some abuse. To figure out what size panels you need, simply measure your room in feet and divide by 12. This will give you the number of inches for a panel. Multiply this measurement by average height to find the correct height for your panel.
There is a lip on these panels that are about 2-3″ — keep that in mind when determining if you want them. If the mobile home sits high off the ground I would recommend getting a skirting to go with it because it will be more seamlessly aligned.
Novik Panels – Novik is popular amongst homeowners because of their stylish appeal. These skirting panels can be quite expensive, but it could be a good choice for your home. Some brands require that a professional installer be used when installing metal framing, in order to maintain the warranty.
Faux panels are an excellent substitute for stone. They can mimic the look of real stone and are very easy to install. The process is quite similar to framing a house wall with metal 2×2’s followed by screwing faux panels into the framework. A solid frame can be made from plywood, screwed onto the wall for a more sturdy installation. They are light but durable and withstand temperature extremes very well.
Insulated
Insulated mobile home skirting is something you’re probably hearing about these days, but it might not be worth it. Installing new insulation is a great way to increase the energy efficiency of your mobile home, as has been shown in studies like those done by NREL. They found that while installing new insulated skirting increased 7%, blowing insulation under the home with an injector increased it by 11%. The best technique for increasing efficiency, though, was to add wall insulation.
It’s more cost-effective to spend the money on insulating instead of skirting for your walls. Foam skirting can be used in combination with a frame, but some brands won’t need a frame at all.
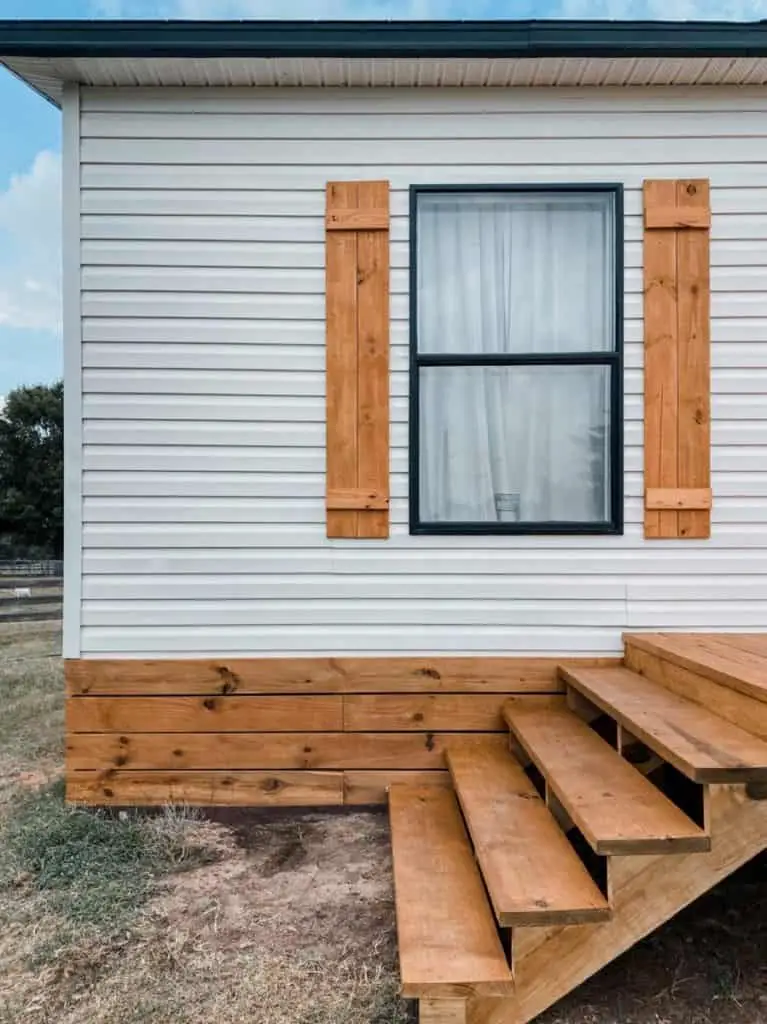
Wood
When it comes to your skirting, you may want to think about using a synthetic material. Wood can rot and attract insects, which leaves them with an increased risk of soaking up moisture in wet environments. Hardboard and OSB are very durable. Hardboard is scored by the grain of the wood and engineered in a way that promotes toughness.
Wood products (even those that aren’t waterproof) will get swollen if they get wet. There is a price to pay for everything, and the price depends on what you need and the level of installation.
Some suggest that you seal and caulk the ends of the boards before hanging them up just as an added precaution against moisture. You can use a plank to simulate wood siding too. Lots of potential with wood!
Calculate How Much Material You Need
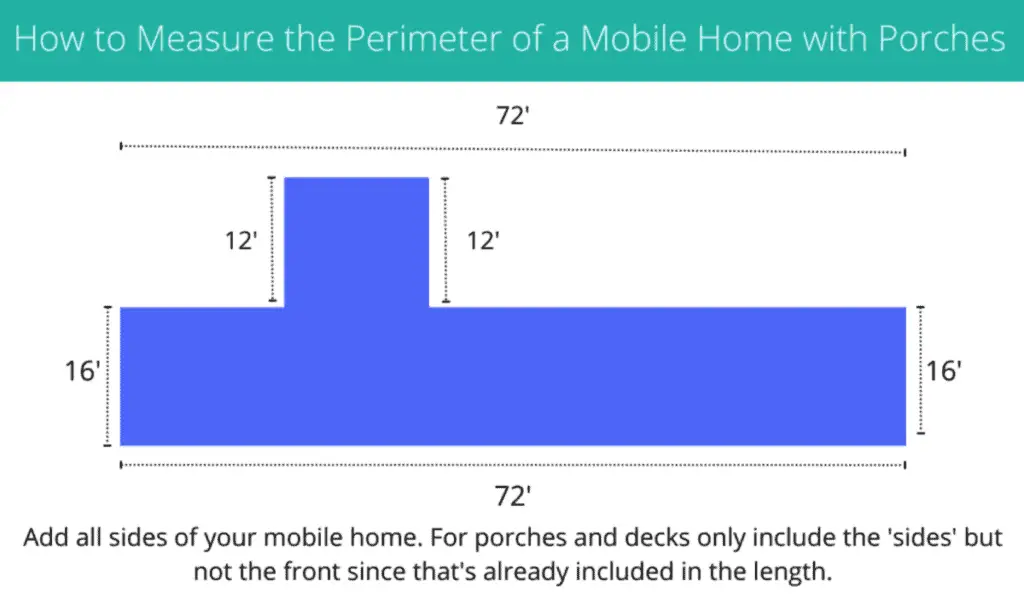
If you want to order new skirting for your mobile home, you’ll need to take measurements and figure out the perimeter of your home. The first step is to measure the perimeter and find out how tall your home is from ground level up to the bottom of the home.
Calculate The Perimeter Of Your Home
Measuring the perimeter of your home is easy and takes little time. To do so, you first need to measure the lengths of all 4 sides plus ramps; decks or porches and add them together. The square footage of the home is not the same as the perimeter footage. (NOTE: The square footage is from length x width, while perimeter is adding, not multiplying the measured sides outside the home.)
Once you know the total perimeter of the home, you’ll then divide this figure by the length of the vinyl skirting panel that you’re buying. This will tell you how many total panels you may need. I always find it helpful to by 10% more than you need because of wastage. If there is any left over, you can return it if needed.
Is Your Ground Level?
Many lots do not have level ground. If your lot is not level, the sides, the front, or the back of your home may be further off the ground than other areas.
Vinyl skirting comes in varying heights, and you will need to purchase the right number of panels for the various heights around the home. This is more cumbersome than if the ground was level, but you need to make sure that you are purchasing panel that are tall enough to be trimmed if need for slopes and other inconsistencies of the ground.
Calculate The Height Of The Bottom Of Your Home Off The Ground
If your lot is level, then congratulations. All of your skirting panels can be purchased at one height.
To find the average height of your mobile home, you will need to take 6 measurements: at all 4 corners and in the middle up front and back of your mobile home. The average height is just the total of all of the measurements you recorded divided by 6.
Pricing
Since we live in times of high price volatility, I am not including pricing information in this blog. However, Please follow the links below to 2 large manufactured home parts suppliers. From their websites, you can quickly price out what you will need for your materials.
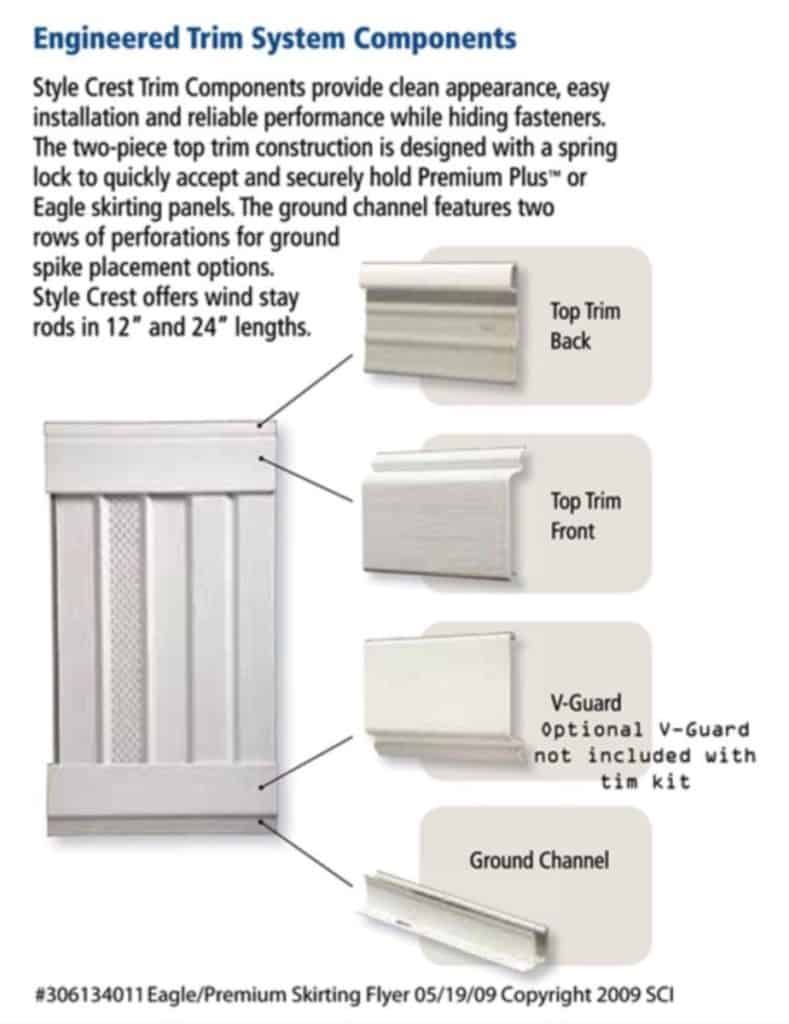
Other Parts You’ll Need For Your Skirting Project
- Ground Track – U Channel
- The ground track is bolted into the ground (usually with long rods). It’s a U-shaped channel and it will keep the panel secured.
- Top Frame – J Channel
- The top back is what goes on the bottom of the home before the panels are set into place. Its top channel will fit over your top.
- Trim
- The top trim strip goes in front of the skirting panel. It gives the system a more polished appearance and allows the skirting more security. It’s the last part you add. There are V-guards you can add around the bottom edge of thinner skirting to keep the weed eaters from eating it.
Venting
Any type of mobile home skirting material will require venting in order to control airflow under your home. It’s been shown that vents in mobile homes are so important that different states have different regulations about them. Most experts agree that you need about 1 foot of venting per every 150 – 250 square footage of your home.
Placing The Vents
Do your best at planning vent placement in general for adequate air flow. You don’t want the vent near plumbing pipes and you should keep them within 3 feet of each corner. This ensures maximum circulation efficiency which can help eliminate stagnant air pockets that are common in corners.
Don’t Forget The Vapor Barrier
A ground vapor barrier does what it says it is. It’s a thin sheet of plastic that sits on the ground, creating a protective barrier between your mobile home and the moist ground.
If you have a ground vapor barrier installed, you may only need 1 vent for every 300 square feet. Ground barriers are great at controlling the air flow in your home and they cut down on the number of vents needed. John Krigger, the author of Your Mobile Home, wrote that with a ground vapor barrier installed it is possible to get away with less venting.
Extending the vapor barrier 6 inches past the exterior of your home is a good move for a couple of reasons. If you’re installing skirting, you can use the ground frame or channel to secure it and seal off the airtight space underneath from water & moisture. Best of all, ground vapor barriers prevent weeds and grass from growing up against the foundation of your home. This can help reduce the likelihood that they will create a gnarly mess around your beautiful new siding.
Installation Steps
Level Out Your Ground
You may have a harder time installing your skirting if the ground around your mobile home is not flat. Take a moment to walk around your home and try to make sure that the ground is as level as possible.
Plan and Mark Your Layout
Mark a spot on the ground, using a level, directly below each corner of the home, porches, or other appendages. This will be the point where the skirting changes direction. It is important to make sure that the point is plumb vertical to the point above so that the skirting is not at an angle after installation. Once each corner is marked, place a stake in the ground at that point.
From stake to stake, use a chalk line to mark the ground where you will be placing the bottom rail.
Install The Bottom Rail
Proper placement of the bottom rail cannot be overemphasized. The bottom rail being in the proper position lays the foundation for the remainder of the installation. Place the back strip of the bottom rail on the chalk line. Attach the rail to the ground with ground spikes or nails. First attach both ends, and then the middle of it. If you’re attaching it to concrete, use masonry nails or spikes.
With your chalked line as your guide, nail the bottom rail at the first corner. Align it with the chalk line until you get to the next stake. Cut the bottom rail to length. Then place a long nail through the bottom rail about every foot to hold it in place. The longer the nail, the better.
Repeat this step for all of your staked corners. When you’re done, you will have nailed the back rail to the ground and it should be going round your entire chalked outline.
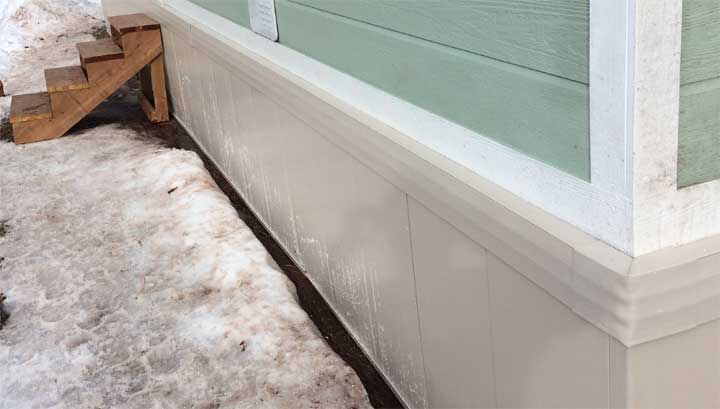
Position The Top Rail Into Place
The next step is to nail the top rail into position, This will be similar to the bottom rail, except that it will be attached to the house directly above the bottom rail. There needs to be ½ inch of space between the end of the top rail and each corner of the house, deck, or other appendage you are skirting around. The reason for this gap is that the vinyl will expand and contract with the temperature and weather.
This needs to be done on all corners. You can use screws or nails, whichever you prefer. Note to not tighten the top rail too much, as you will need to move it around a bit during the remainder of the installation process.
Measure And Mark For The Vinyl Skirting Panels
From the corner on the top rail, measure 16 inches with your measuring tape, then mark the top rail at that height (a black Sharpie works best). The reason you’re doing this is because vinyl panels are 16″ wide. Work your way from the first corner, making the marks, all the way to the next corner. The last panel will be less than 16” wide, which is fine. Do this all the way around the perimeter until all sides are marked.
At every 16 inches marked, measure the distance from the ground to the bottom of the top rail. Add two inches and write down each measurement at that point. For ease of organization, write the measurement next to the mark on the top rail.
Installing The Side Panels
In order to make your side panels, cut them by each measurement you took in the previous step. Each of the panels except for the panel next to the end corner on each side will be 16” in length, as this is the standard size that you purchased. The height will vary depending on your measurement at each mark. Using a straight edge to draw these measurements will help make sure that you cut the straightest lines possible.
Putting On The Corner Pieces
Last but not least, your final step is to install the vinyl pieces that will be bent around the four corners of your mobile home. Measure the distance from one panel to another around each corner. Once you know this distance, mark the spot on your corner piece where you’ll nail it in place and start bending over the edge.
It is easier to bend your vinyl piece if you score it first with a straightedge. Use the back of your nail to do this, but be careful not to break the piece in two when bending. Your corner should slide in nicely with the other pieces by simply fitting them into each other.
Install The Final Top Rail Cover Molding
Finally, it’s time for the top rail finished molding topper to go over the top rail. The tops of these pieces should be resting on the lip of whichever other top rail piece you’ve already installed, and they should overlap at least a few inches. Make sure that every part of your house is covered with a top rail molding. Note that the top rail pieces with a notch designate the corner pieces, so it’s a good idea to start there first.
Awesome job, you’ve completed your skirting project. Step back and take a look at how much better your home looks!
Summary
Skirting your mobile home doesn’t have to be difficult and the choice of materials is bountiful. The ones listed above are just a few of the popular options. Working with code doesn’t have to be difficult. If you’re up for the challenge, it can actually be pretty easy if you’re someone who’s good at following instructions.